Another Koralon Battle
We had some more VASA vs. Koralon fights that day.
Battle1:
VASA Forces:
1 Unit Black Legionairies with Sergeant
1 Unit Suppressors with Sergeant
2 Units VASA Marines with Sergeant
Koralon Forces:
1 Broodmaster
1 Phazon
1 Unit Tactical Araktons with Shard Launcher
1 Unit Larvans
1 Unit Broods with heavy Blades
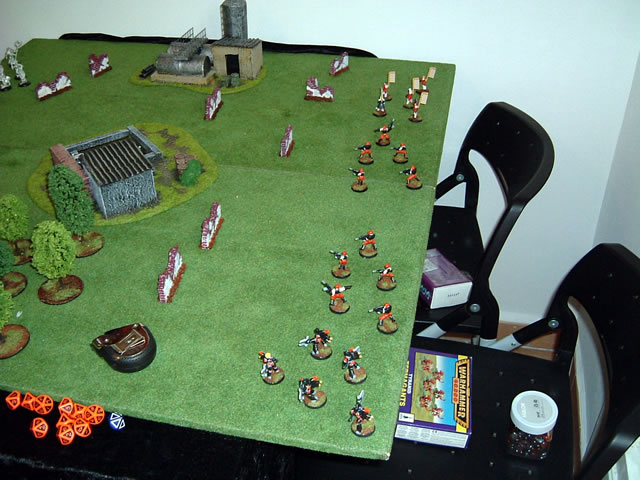
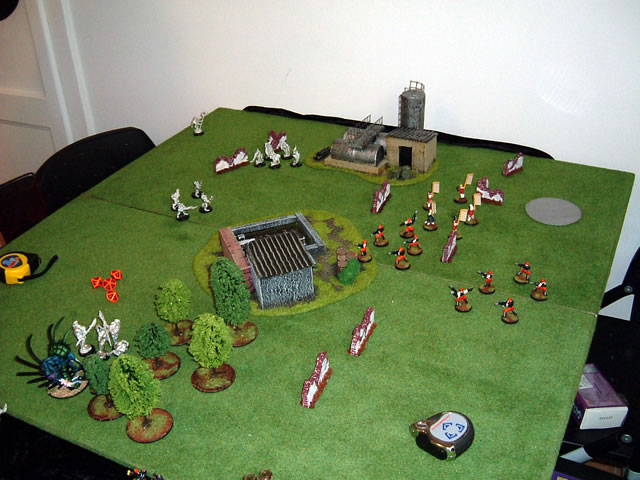
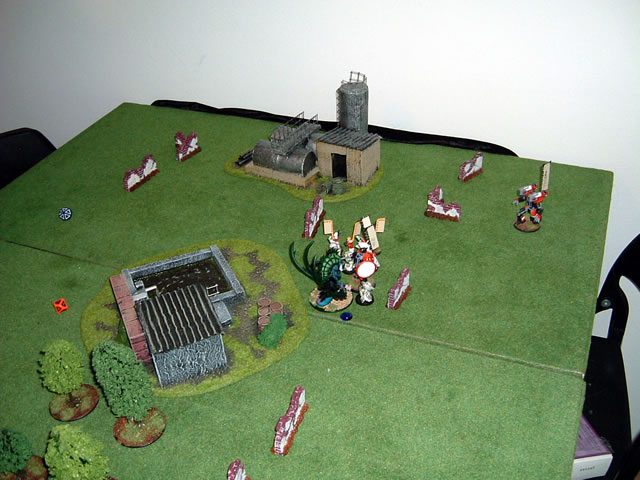
Setup:

Turn 1:
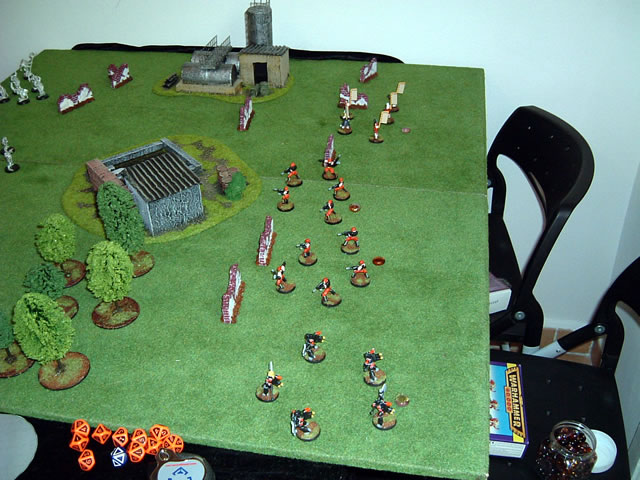
Not much there the assualtunits tried to get a bit closer so they could assault
next turn.
Others either advanced or gave off some ineffective shots.
The Phaton tried to teleport the Larvans next to him but failed. (Guess the
guys need to diet, they are just to big. :D)
As you see here not much happened, as I didnt want to give the shard launcher
a nice big target I keep my units spread out.
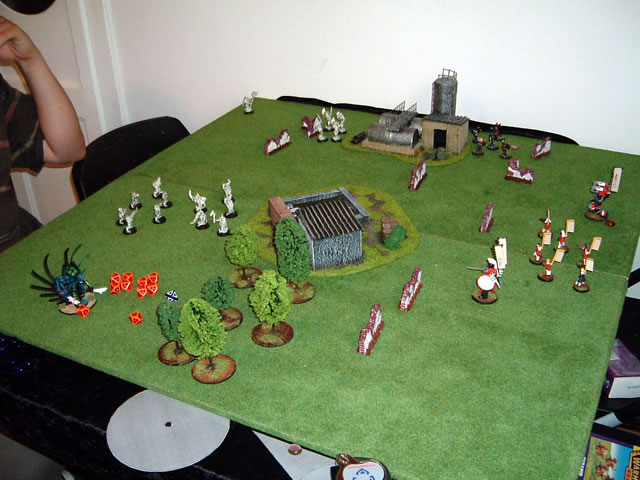
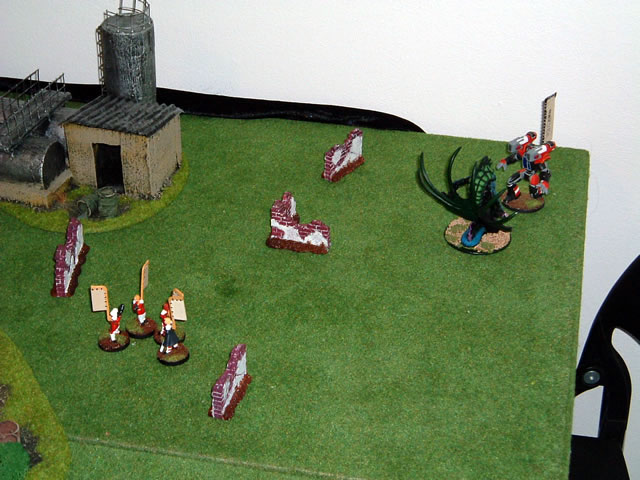
Turn 2:
As planned the Black Legion could charge the Broodmaster.
But the Broodmaster proved too be a hard opponent.
A charge from the nearby Larvans into the melee spelled the doom of the Black
Legion.
Otherwise just more movement and pot shots.
The ill advised charge of the Black Legion in full glory. :)
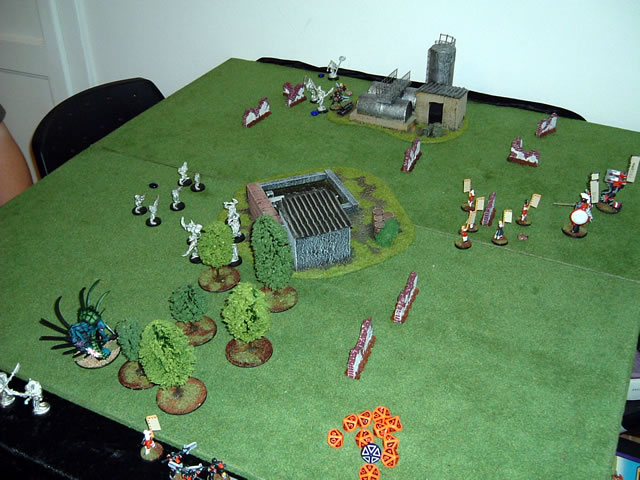
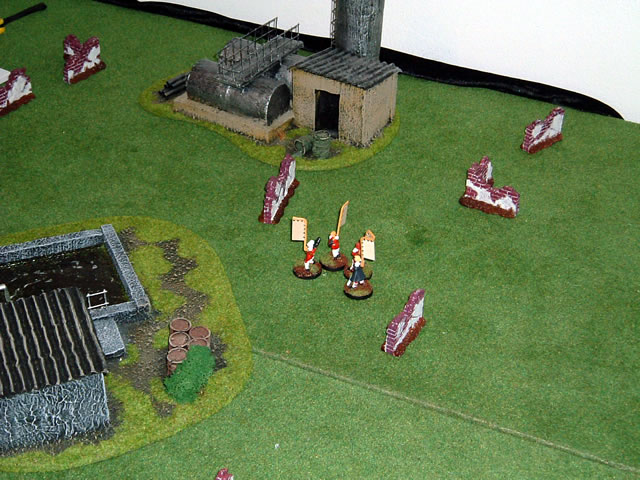
Turn 3:
After finishing the Black Legion the Broodmaster and the Larvans decided to
roll up the flank of the VASA forces.
The shooting of my other units proved to be ineffective as before.

The beginning of the end.
The next turns just saw the Koralons wiping out the VASA forces.
A lucky hit took down the Broodmaster but that was not enough to save them.
Battle2:
VASA now decided to send in some heavier figthing units to battle the Koralon invaders.
VASA Forces:
1 Unit Black Legionairies with Sergeant
1 Unit Suppressors with Sniper and Sergeant
1 Bird of Pray Shogun
1 Bird of Pray Typhoon
Koralon forces were the same as in battle 1

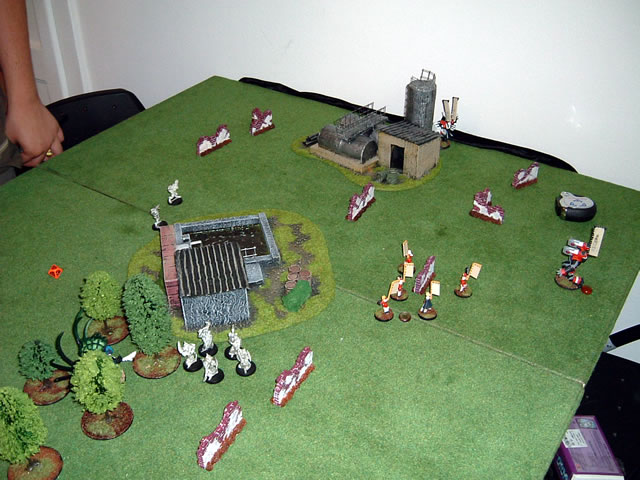
VASA ready for battle
Turn 1:
As before some tactical movements, to get better positions.
Thypoon and Sniper missed their targets.
Turn 2:
Again the Black Legion charged first, but this time the Larvans next to the
factory.
The Larvans refused to go down by the inital charge so the battle turned a
bit bloody.
To support the close combat, and to get away form the Broodmaster, the Shogun
moved to the other flank.
Again the Thypoon couldn't hit a thing.
The battle between Larvans ans Black Legion rages on while the Phazon just
looks and cheers for his boys. :)
Turn 3:
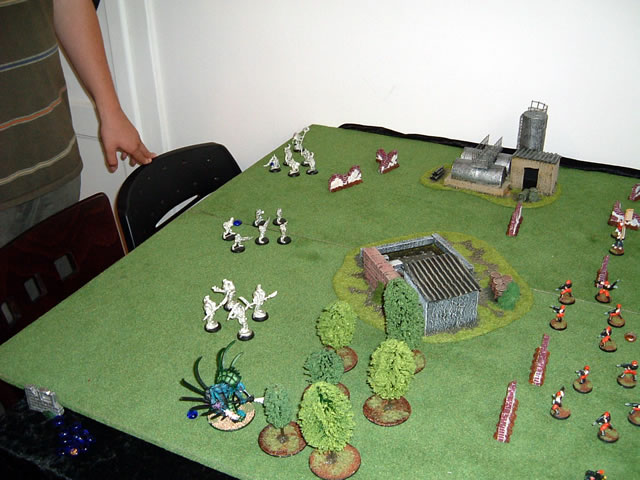
The Shogun charged the Phazon who tried to sneak past the factory.
The battle between Black Legion and Larvans ended with both units wiped out.
Fire from the Supressors decimated the Araktons, but the Broodmaster and a
unit of Broods sneaked up on the other flank.
It looks like VASA has total control of the battlefield, for now.
Turn 4:
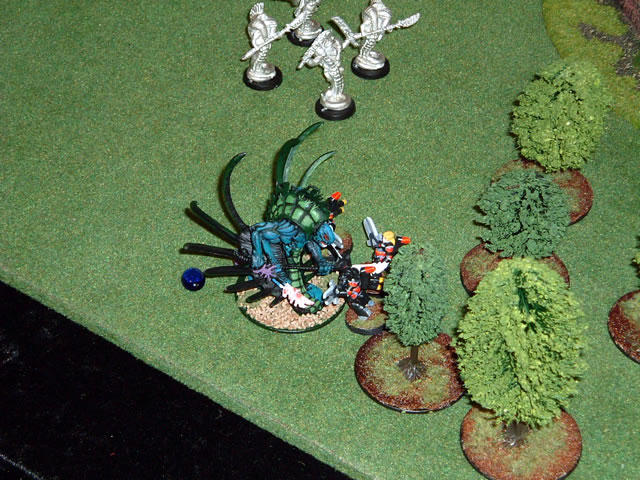
Now it turned into a big melee.
The Broods charged the Supressors, the Shogun came over to help, as well as
the Broodmaster.
The Typhoon just stayed away from all the carnage.
Grand Melee
Turn 5:
The melee ended with a destroyed Shogun, and the Broods beeing eliminated.
The Supressor unit got a bit smaller and the Broodmaster was down to 1 wound.
He decided to charge the Typhoon, before he got hit the missle launcher.
The Typhoon made a countercharge and both units got eliminated.
The last charge.
The winning VASA units. :)
A glorious victory. :D
A special thank you to Graham from the Urban Mammoth forums for finding my typos and sending me a corrected version. :)